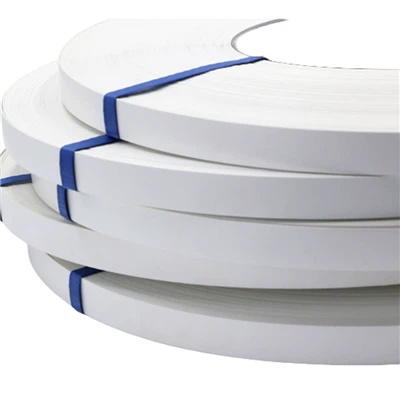

Installing birch plywood edge banding on a dining table is a practical and aesthetically pleasing way to enhance the look and durability of your furniture. As a supplier of Birch Plywood Edge Banding, I have seen firsthand the transformative effect that proper edge banding can have on a dining table. In this blog post, I will guide you through the step-by-step process of installing birch plywood edge banding on a dining table, providing you with all the information you need to achieve professional results.
Step 1: Gather Your Materials
Before you begin the installation process, it is important to gather all the necessary materials. Here is a list of items you will need:
- Birch plywood edge banding: Choose a high-quality edge banding that matches the color and grain of your dining table. Make sure to measure the length of the edges of your table accurately to determine the amount of edge banding you will need.
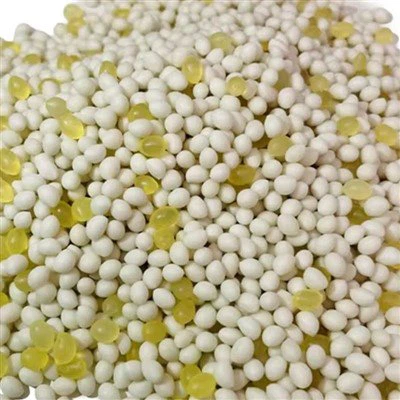
- Adhesive: Select an adhesive that is specifically designed for edge banding. There are several types of adhesives available, including hot melt glue, contact cement, and double-sided tape. Choose the adhesive that best suits your needs and the type of edge banding you are using.
- Tools: You will need a few basic tools to complete the installation process, including a utility knife, a straightedge, a heat gun, a roller, and a sandpaper.
Step 2: Prepare the Edges of the Table
Before applying the edge banding, it is important to prepare the edges of the table. Use a sandpaper to smooth the edges of the table and remove any rough spots or splinters. Make sure the edges are clean and free of dust and debris.
Step 3: Apply the Adhesive
Once the edges of the table are prepared, it is time to apply the adhesive. If you are using hot melt glue, heat the glue gun according to the manufacturer's instructions. Apply a thin layer of glue to the back of the edge banding, making sure to cover the entire surface. If you are using contact cement, apply a thin layer of cement to both the back of the edge banding and the edge of the table. Allow the cement to dry for a few minutes until it becomes tacky.


Step 4: Apply the Edge Banding
Once the adhesive is applied, carefully place the edge banding on the edge of the table, starting at one end and working your way to the other. Use a straightedge to ensure that the edge banding is straight and aligned with the edge of the table. Press the edge banding firmly onto the table, using a roller to smooth out any air bubbles or wrinkles.
Step 5: Trim the Excess Edge Banding
After the edge banding is applied, use a utility knife to trim the excess edge banding. Hold the knife at a 45-degree angle and carefully cut along the edge of the table, removing the excess edge banding. Make sure to cut the edge banding flush with the edge of the table.
Step 6: Finish the Edges
Once the excess edge banding is trimmed, use a sandpaper to smooth the edges of the table and the edge banding. This will help to blend the edge banding with the table and create a seamless finish. You can also apply a finish to the edge banding to protect it and enhance its appearance.
Tips and Tricks
- Make sure to measure the length of the edges of your table accurately to ensure that you have enough edge banding.
- Use a heat gun to warm the edge banding before applying it to the table. This will make the edge banding more flexible and easier to apply.
- Apply the adhesive evenly to the back of the edge banding to ensure a strong bond.
- Use a roller to smooth out any air bubbles or wrinkles in the edge banding.
- Trim the excess edge banding as soon as possible after applying it to the table to prevent it from drying and becoming difficult to cut.
Conclusion
Installing birch plywood edge banding on a dining table is a relatively simple process that can have a significant impact on the look and durability of your furniture. By following the steps outlined in this blog post and using the tips and tricks provided, you can achieve professional results and enhance the appearance of your dining table. If you have any questions or need further assistance, please do not hesitate to contact us. We are a leading supplier of Birch Plywood Edge Banding and other types of edge banding, including PVC Edge Lipping, PET Edge Banding, and Laser Edgeband. We would be happy to help you choose the right edge banding for your project and provide you with the support and guidance you need to complete your installation successfully.
References
- Woodworking Magazine: "How to Install Edge Banding"
- Home Depot: "Edge Banding Installation Guide"
- Rockler Woodworking and Hardware: "Edge Banding Basics"